Assemble the cut-sheet setup
For the existing square-coaster and mug projects, the design comes from a pre-inked Infusible Ink Transfer Sheet. A Cricut cutter cuts the design; the press transfers it. You do not need sublimation ink cartridges, printable transfer paper or a printer for these sheet projects.
Cricut’s Infusible Ink FAQ lists compatible cutting-machine families and requires a StandardGrip mat. Use the mat size made for your exact cutter. A machine bundle’s included mat can differ: the reviewed Maker 4 Machine Only package lists a Light Grip mat, which does not satisfy the StandardGrip requirement.
Size before sending the cut
Open or create the design in Design Space and set its finished width and height. Compare those dimensions with the actual blank’s usable face, transfer sheet and cutter/mat limits. Maker 4’s maximum listed on-mat cut area is 11.5 × 23.5 inches; that maximum does not enlarge a smaller mat or a mug’s safe design area. Use the exact project’s dimensions and placement limits.
For a first attempt, choose a simple design with clear spaces between elements and record its size. This is an editorial way to make the cut and weed easier to inspect, not a tested minimum-feature claim. A design made for printing is not automatically a ready-to-cut design; inspect the cut preview for the shapes the machine will actually cut.
Cut and keep the design on its liner
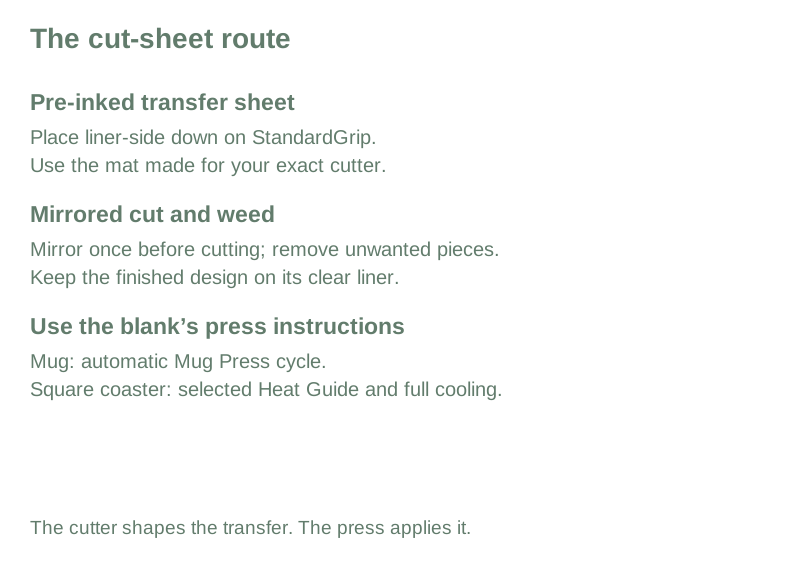
- Step 1Put the Infusible Ink sheet liner-side down on the matching StandardGrip mat. Keep the sheet and hands clean and dry.
- Step 2Mirror the design before cutting. Confirm the material selection follows Cricut’s instructions for Infusible Ink Transfer Sheet and your machine; do not copy another machine’s blade pressure.
- Step 3After cutting, use Cricut’s crack-weeding method to release the unwanted pieces. Keep the intended shapes on the clear liner and inspect small details before pressing.
- Step 4Trim the liner as the exact blank instructions require. The mug and coaster routes call for heat-resistant tape. Apparel and bags have different preparation and layer instructions, so follow their own project page.
Cricut documents that sheet orientation, mirror and weeding sequence in How to use Infusible Ink. The diagram above is our schematic of the process, not a screenshot of a particular Design Space build. We have not run this cut in an installed software version.
Hand the cut to the right press route
For a square coaster, continue to the square-coaster project. It has a specific layer order and complete-cooling instruction. For a mug, use the mug project and Mug Press setup page. The Mug Press controls its cycle automatically; do not copy the coaster’s temperature and timer into that route.
Download the blank artwork preflight sheet to record finished design dimensions, sheet size, mat and usable blank area. The blank equipment card has separate cutter and printer fields; mark the unused printer fields N/A for this workflow.
Sources and review date
The linked Cricut FAQ and how-to establish the cut-sheet sequence. The Maker 4 item page establishes its separate machine-only contents and maximum on-mat cut size. Records were reviewed September 23 and October 3, 2026. This guide does not claim a measured cut test, an all-material blade setting or a current software-build demonstration.
Page address: https://makepressrepeat.com/guides/cricut-infusible-ink-cutter-setup