There is no universal T-shirt design width in the sources reviewed for this guide. Start with the exact garment, the location you want to decorate, and the press area available to you. Measure the intended application area on that shirt, then size the file to those measurements while keeping the printer's printable area and the blank's limits separate.
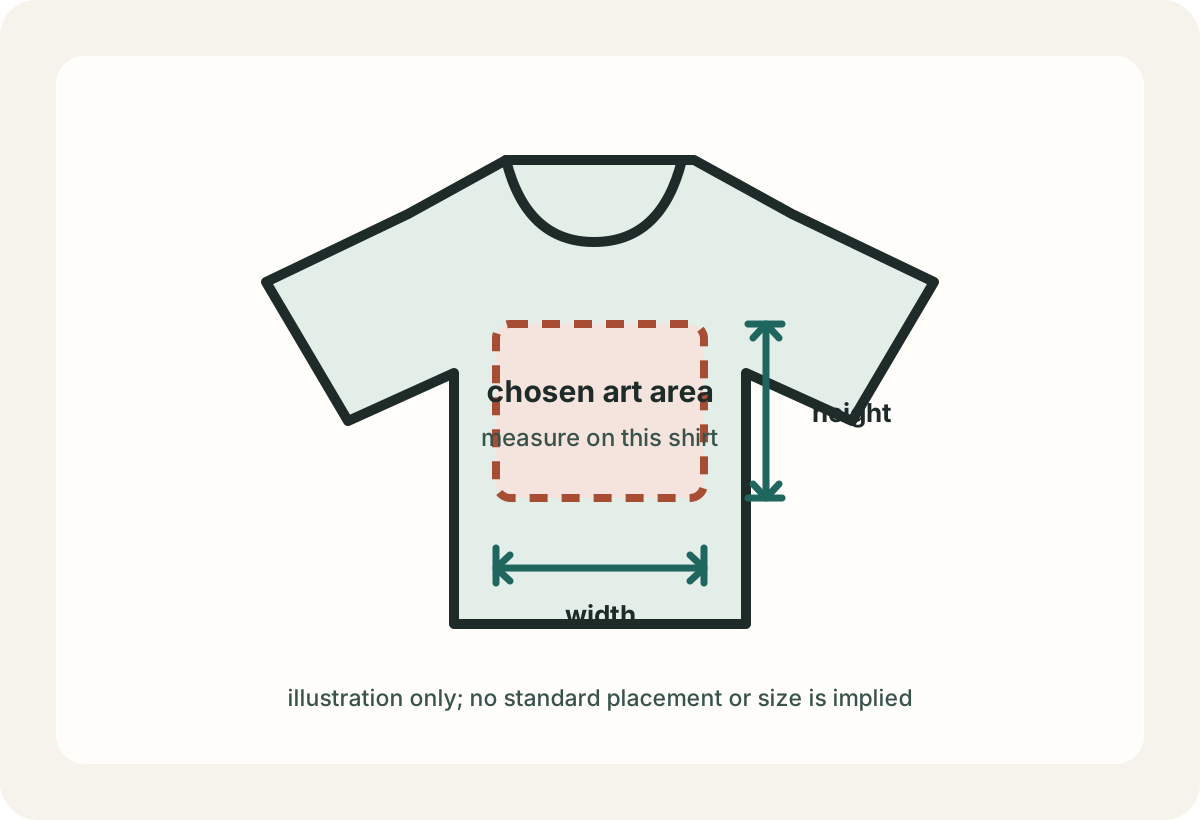
Measure the intended decoration area
Choose one location first, such as the front chest, back, or sleeve. Lay the garment flat without stretching it and mark the largest rectangle you are willing to decorate at that location. Measure its width and height, then check that it avoids seams, collars, pockets, and any uneven or unsupported press area. These measurements describe your chosen layout; they are not a supplier-approved print boundary unless the garment maker gives one.
If you are working from a particular shirt listing, record its exact brand, style, color, and size. A measurement chart usually describes garment dimensions rather than artwork limits. Ask the blank supplier for a template or decoration-area guidance when placement must meet a production specification.
Keep shirt size separate from artwork size
The checked JPPlus listing is one specific example: Vapor Apparel item SUBS1054X-PKG, Ash Heather, size 4X, sold as a six-shirt package. Its size table lists a 28.5-inch chest, 26.75-inch shoulder-to-shoulder measurement, and 34.5-inch length. The page identifies this exact tee as 100% spun polyester and suitable for sublimation, and says its front, back, and arms can be decorated. The listing also links a size-specific 4XL product-template PDF and ZIP; those files should be checked separately for the template bounds and lines.
| Source measurement | What it describes | What it does not establish |
|---|---|---|
| 28.5-inch chest on the selected 4X listing | A garment-size measurement for that exact variant | The width of an artwork file or a print-safe chest rectangle |
| 26.75-inch shoulder-to-shoulder measurement | The listed garment shoulder measurement | A recommended design width |
| 34.5-inch garment length | The listed overall length | The distance available between neckline, hem, and other placement limits |
Do not scale a front graphic directly from a shirt's chest or shoulder measurement. Garment shape, stretch, seams, intended placement, size grading, and press contact all affect the area you choose. The 4X facts above are a worked example of reading the listing, not a size chart or a recommendation for other shirts.
For this exact 4X listing, start from the JPPlus product page and its linked 4XL template. JPPlus's template instructions call the cyan line “Print Area,” but define it as the physical product edge; it is not a verified transferable area. The inner orange “Safety Area” is where text and graphics should fit without being cut off; magenta marks bleed, and gray areas, when shown, may not transfer. Hide or delete template lines and information before output; some design apps may need the file used as a visual reference instead of an editable template. The exact dimensions and lines in the linked 4XL file were not independently verified for this guide, so treat it as supplier layout guidance, not as a universal recommended chest-graphic size or a substitute for the selected printer's imageable bounds.
Turn your measured area into a canvas
Write down the maximum width and height you measured for the chosen location. Set those as the bounds for your design, leaving any extra clearance you want around seams and edges. Keep the design's proportions locked when scaling it. If it is wider or taller than your chosen area, revise the art or the layout instead of distorting the image.
The design-size helper can calculate a pixel canvas from dimensions you enter. It does not know the size of your garment, detect a seam, or confirm that a press heats every point beneath its plate. Check the selected printer's imageable bounds separately in the printable-area planning guide, then compare them with both your artwork and the exact blank.
Check the transfer process before printing
For the listed JPPlus 4X shirt, the supplier identifies the polyester composition and sublimation process. That evidence belongs to this particular garment listing; it does not certify every polyester or blended shirt. Check the blank material guide for how to evaluate the exact fiber content, coating, and process, and use a press that can contact the chosen location evenly. See the heat-press guide for source-backed press dimensions and operating limits.
Before using transfer paper, confirm the printer's paper size and printable bounds, your design's finished width and height, and the exact shirt's process instructions. If the supplier gives no printable rectangle, retain your own measurements as a layout choice and do not describe them as manufacturer-approved.
Sources and review date
The garment listing and its linked 4XL template were checked on 2026-09-22. The JPPlus template-instructions article was checked on 2026-09-23. No universal shirt-size chart, tested transfer, or verified product-specific print rectangle is claimed. The diagram is an original planning illustration and is not a template or to-scale placement guide.
- Vapor Basic Tee for Sublimation, Heat Transfer, or UV-LED Printing: selected Ash Heather 4X item identity, fiber/process listing, garment measurements, listed decoration surfaces, and a link to the size-specific template.
- How to use JPPlus product templates: line meanings, template-file handling limits, and instruction to hide template lines before output; checked 2026-09-23.